Artifacts stuck in the center
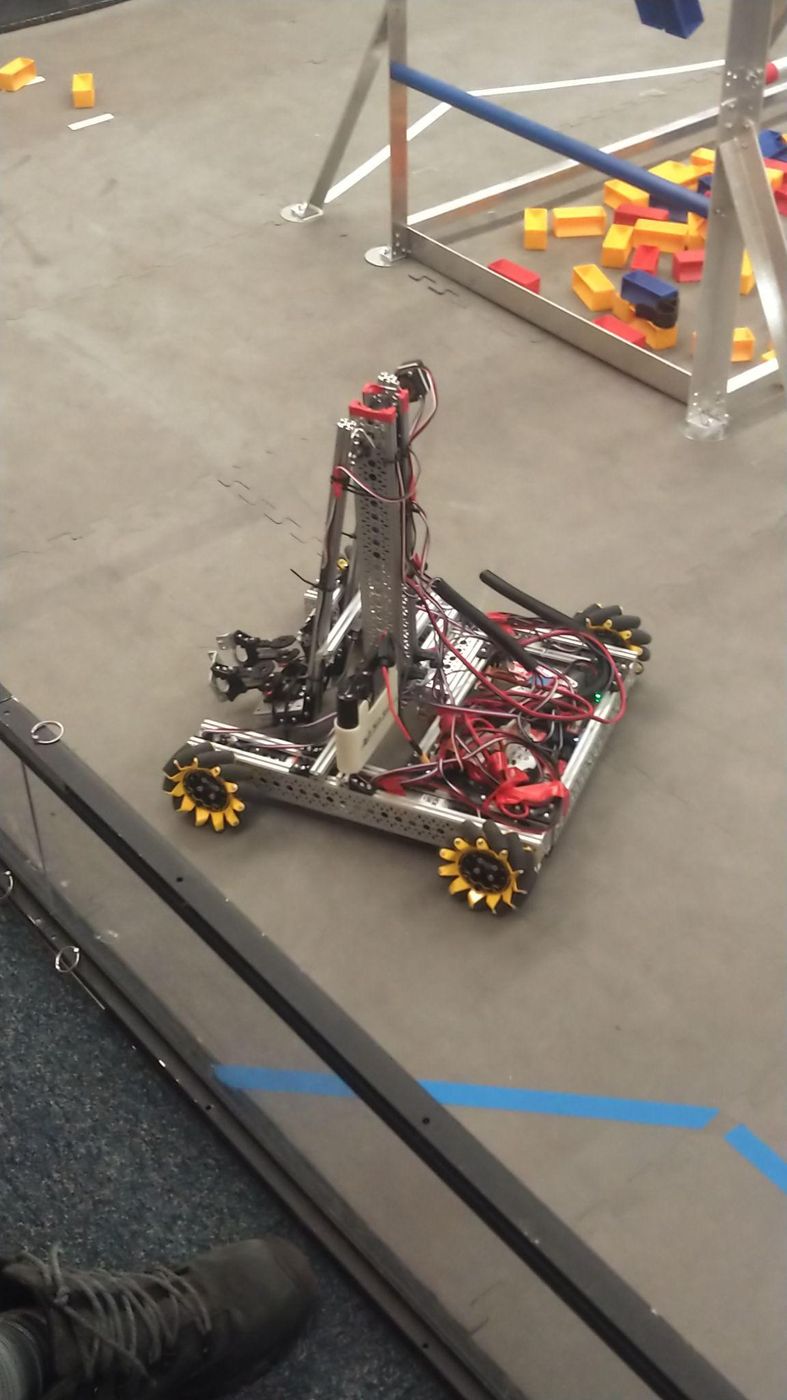
With a single intake, artifacts got stuck between the shooters. We built a wall between them, programmed a way to push stuck artifacts out, then designed a diverter to guide them.
Built on a goBILDA base, then iterated into something all our own: custom shooter ramps, a gecko-wheel intake, and camera-guided aiming.

Right after kickoff, we built our whole season strategy around the ranking-point rules.
A developed, scoring autonomous, plus parking in endgame.
Subsystems that can intake and shoot quickly, and aim.
Program and strategize for a high-functioning motif shooter.
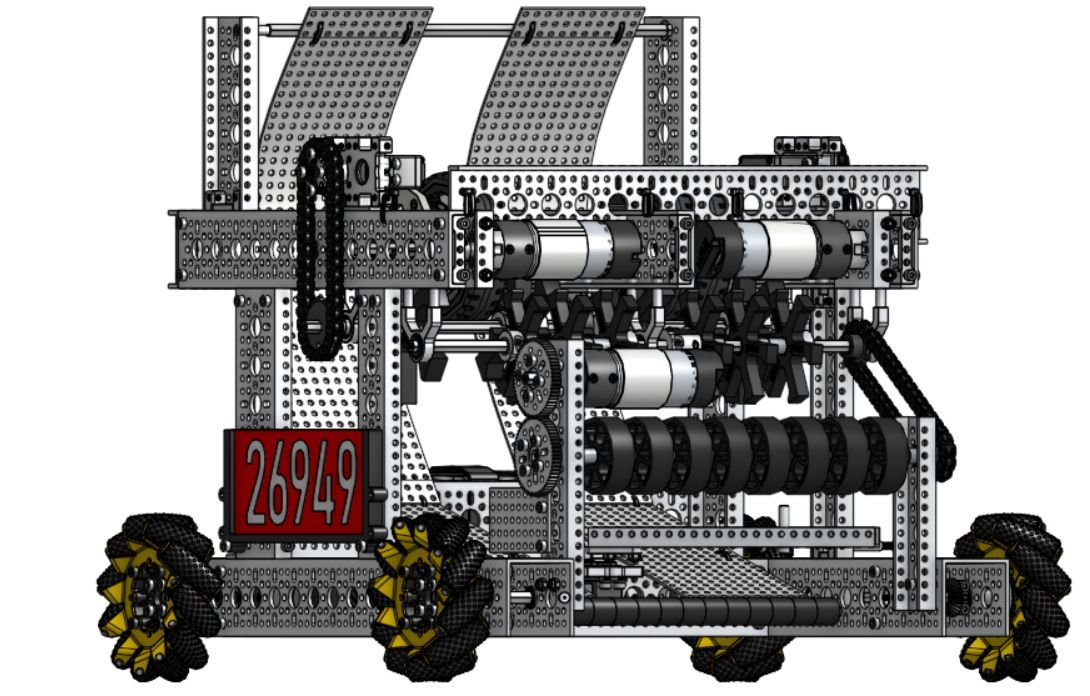
Gecko wheels pull the ball inside the robot, guided by where the diverter is set.
Balls are held in place by bumper wheels and small boot wheels.
A second set of larger boot wheels kicks the balls up into the shooting zone.
1:1 6000 RPM motors launch the ball up our custom ramps and out to the goal, all positioned by the camera.
With a single intake, artifacts got stuck between the shooters. We built a wall between them, programmed a way to push stuck artifacts out, then designed a diverter to guide them.
Our subsystems didn't work together easily because of voltage and the number of steps. Drive practice plus better controls meshed every step together.
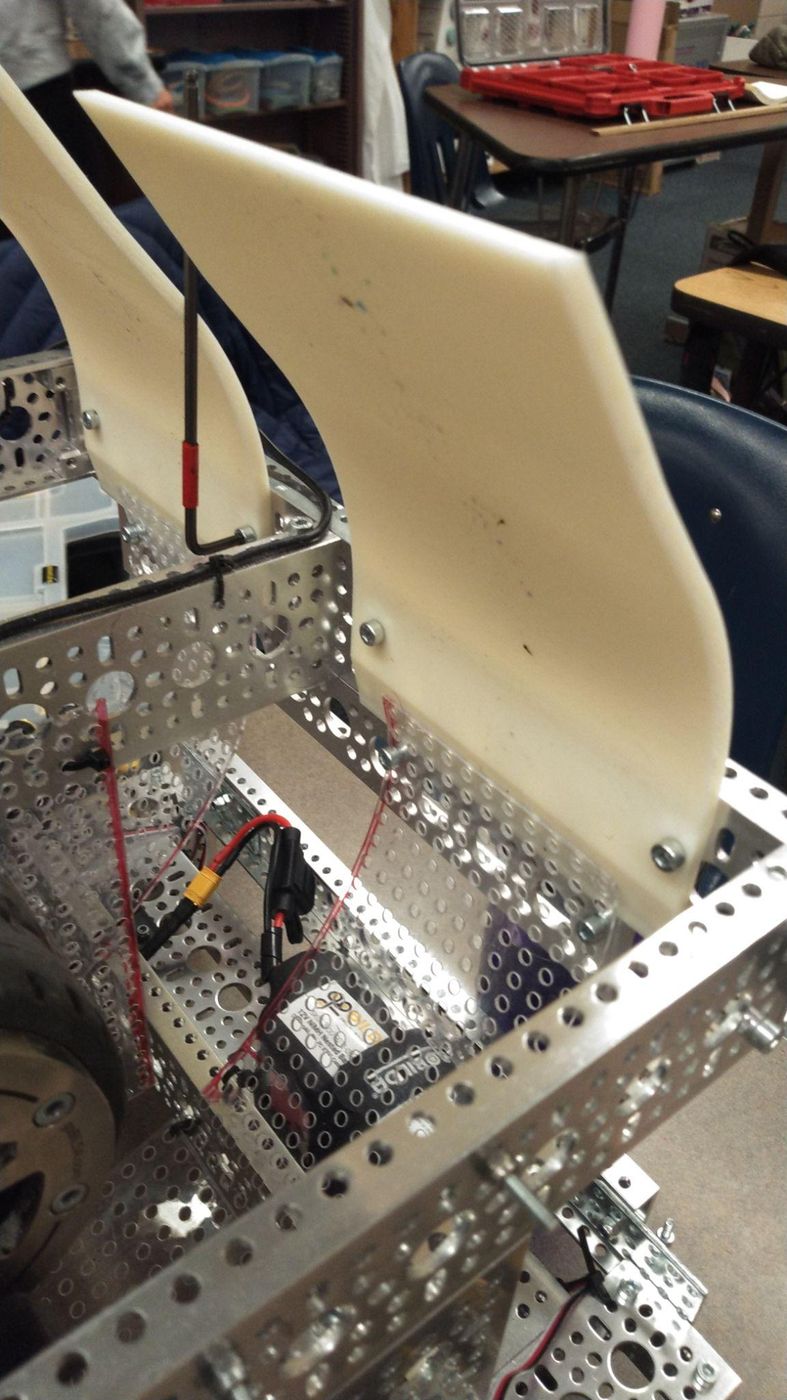
The first stage's gears kept shifting off each other. We designed a separation brace to support them so they couldn't shift.
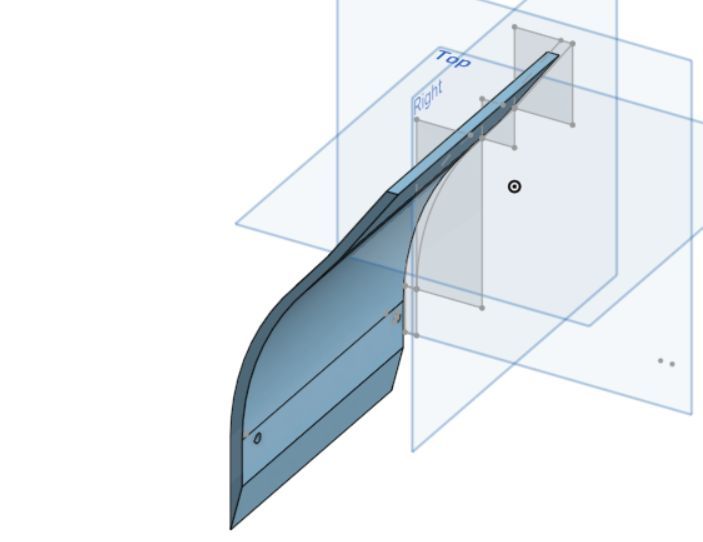
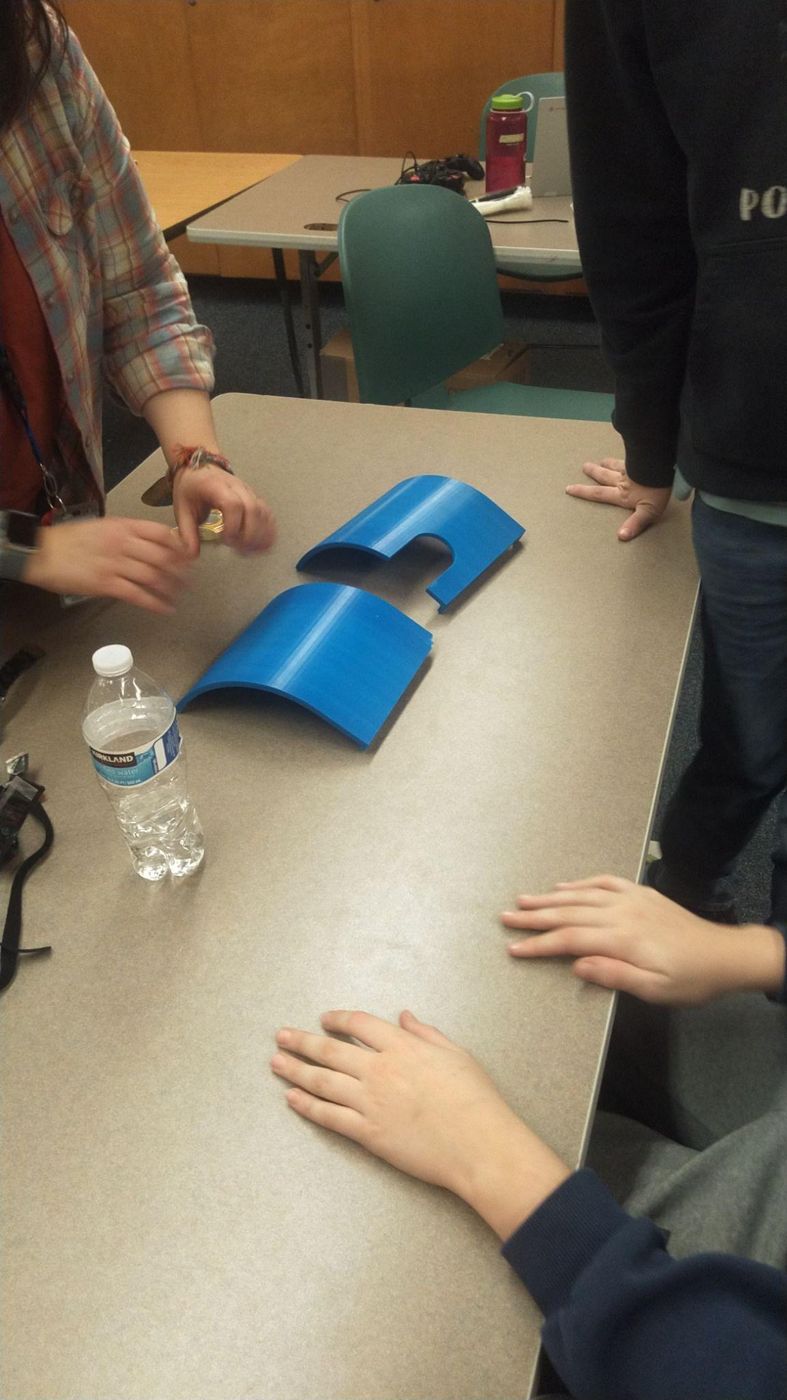
We traced our prototypes, found the arcs they were made of, and used geometry and trigonometry to design the exact lengths and angles.

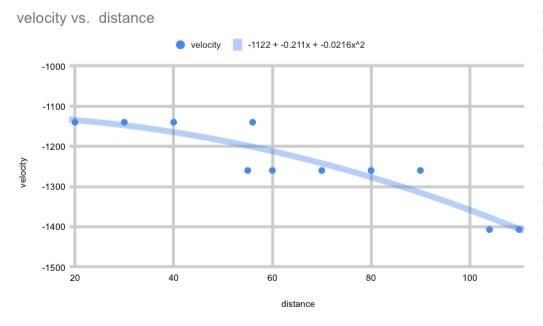
We condensed our controls to three buttons per controller. One button lines up the robot, sets the right flywheel velocity for the distance, and spins up the flywheels, all at once.
The camera uses bearing to AprilTags to position the robot in auto and teleop. Aiming time dropped a lot and our shot ratio improved.
goBILDA prism LEDs turn red when the flywheels are up to speed, so drivers never shoot too early. Shooting got faster and more accurate.
We use the IMU to position ourselves on the field before switching to the camera, so small setup errors don't affect the auto. At our summer program, Maddie found that drive-by-gyro beat encoders for accuracy.
We use Failure Mode and Effects Analysis (FMEA) all season to decide which projects to prioritize, on and off the robot. Here's one sample from after our first qualifier.
| Requirement | Failure | Cause | Occur | Severity | Detection | RPN |
|---|---|---|---|---|---|---|
| Speed of process | Dead space | Design too spaced out | 7 | 6 | 6 | 252 |
| Creative | No CAD | Not iterating enough | 5 | 7 | 5 | 175 |
| Consistent velocity | Motors not having time to speed up | Strategy / drive practice / camera / program | 5 | 5 | 5 | 125 |
| Creative | Robot in three days | Not iterating enough | 4 | 5 | 5 | 100 |
| Process different | Diffuser inconsistent | Program / servo | 9 | 4 | 2 | 72 |
During testing we log every autonomous trial: artifacts scored, crossing the shoot line, collecting the next set, and whether the robot sees each AprilTag. After every third trial, we make a design change.
We also filmed our shooter after qualifier 1 and marked up every shot, so we could see our accuracy in one place before making design decisions.
Professional help: Aaron Bengtson, a biomedical engineer, taught us different types of data collection and their purposes, and helped us customize our process.